Connecting to WordPress Bitnami SaaS Instance on AWS with FileZilla

I've recently been looking into moving my blog away from Blogger and over to a WordPress installation. There are a ton of options out there to get your head around, but I have finally settled at a SAAS (Software as a Service) option hosted on Amazon's Web Service platform for the time being. I am still trying to get my head around a few things before I do the final migration. I've learnt a few things about WordPress and AWS though and just wanted to document some of them here. When you spin up the WordPress BitNami instance from the AWS Marketplace during the configuration you are given the option to download an SSH private key that can be used to securely access your environment via an FTP or SSH client etc. This comes in the form of a .PEM file. If you need to connect to your environment to modify configuration files or upload files via FileZilla this is the procedure.
- Launch FileZilla
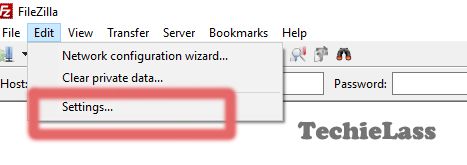
- Click on Edit > Settings
- Select SFTP

- Click on "Add Key File" and select the .PEM file you downloaded during the AWS setup
- Click OK
- Now click on File > Site Manager
- Create a New Site
- Within the Host field enter the Public IP address of your instance
- Within the Protocol Field select SFTP
- Change the Logon Type to "Ask for Password"
- Enter "bitnami" as the username
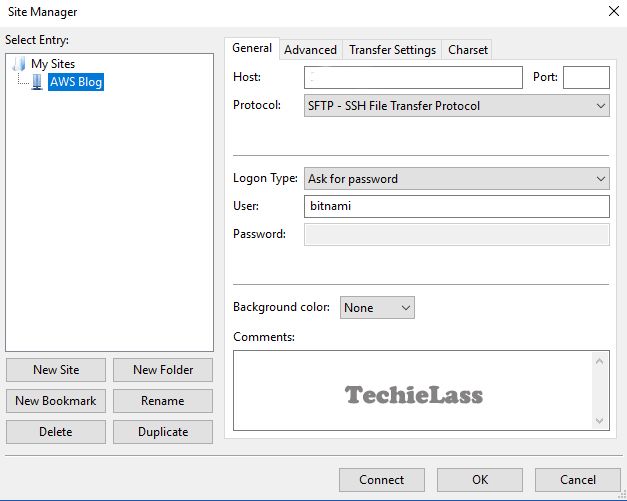
- Click OK
- When you try to connect you will be asked for a password, ignore this and continue
The WordPress BitNami main directory is located within **/opt/bitnami/apps/wordpress/htdocs ** here you will find the wp-config.php file and all the other usual WordPress files.