Deploy a Website in Azure - Part 1

I've recently been taking advantage of some free credits that I have access to within Azure and have been tinkering and trying out various different options within it. One of the things I have been learning about and experimenting with is deploying a website within Azure. Over the years I've hosted various websites, on all sorts of platforms from way back in the day when GeoCities was the in thing up until this day where this website is hosted within the Amazon Web Services (AWS) cloud. So web hosting is something that I've always been interested in even in it's most basic form. This blog helps to describe the process involved in creating a basic web app within Azure and uploading content to it.
Create a Web App in Azure
Once you've signed in your Azure subscription, click on the green add new icon, select Web + Mobile then Web App, as shown within the picture: 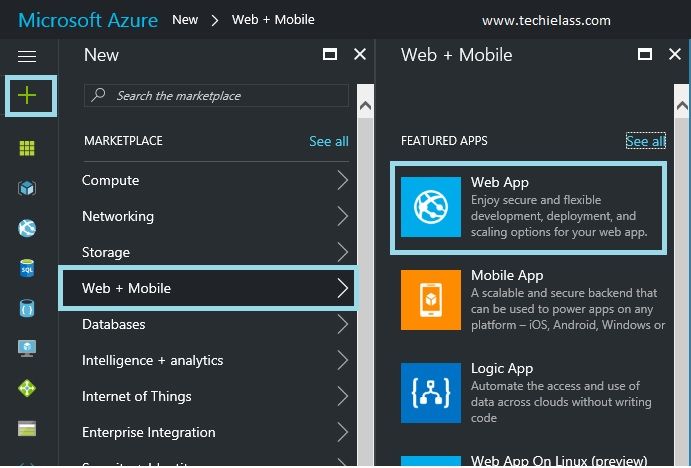
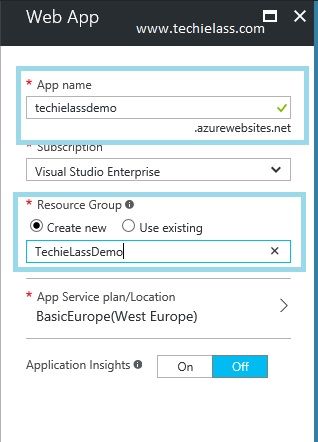
Within the next screen that launches you will be asked to assign a name to your app, select your subscription, create/use an existing resource group and select an App Service plan. For my website I have just called it "techielassdemo", and created a corresponding resource group.
I've assigned a basic service plan to the website as this is just a demo website.
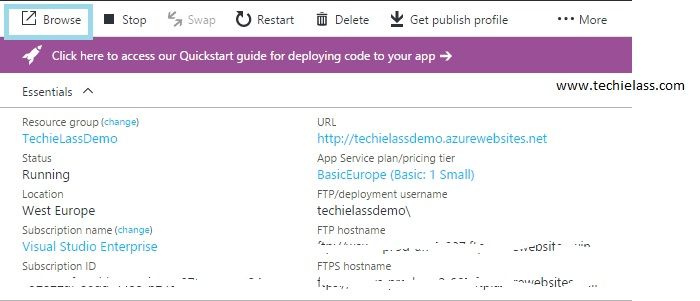
Azure will now start to create your web app, this may take a few minutes. Once it has been deployed you can explore the Resource group and will see something similar to below: 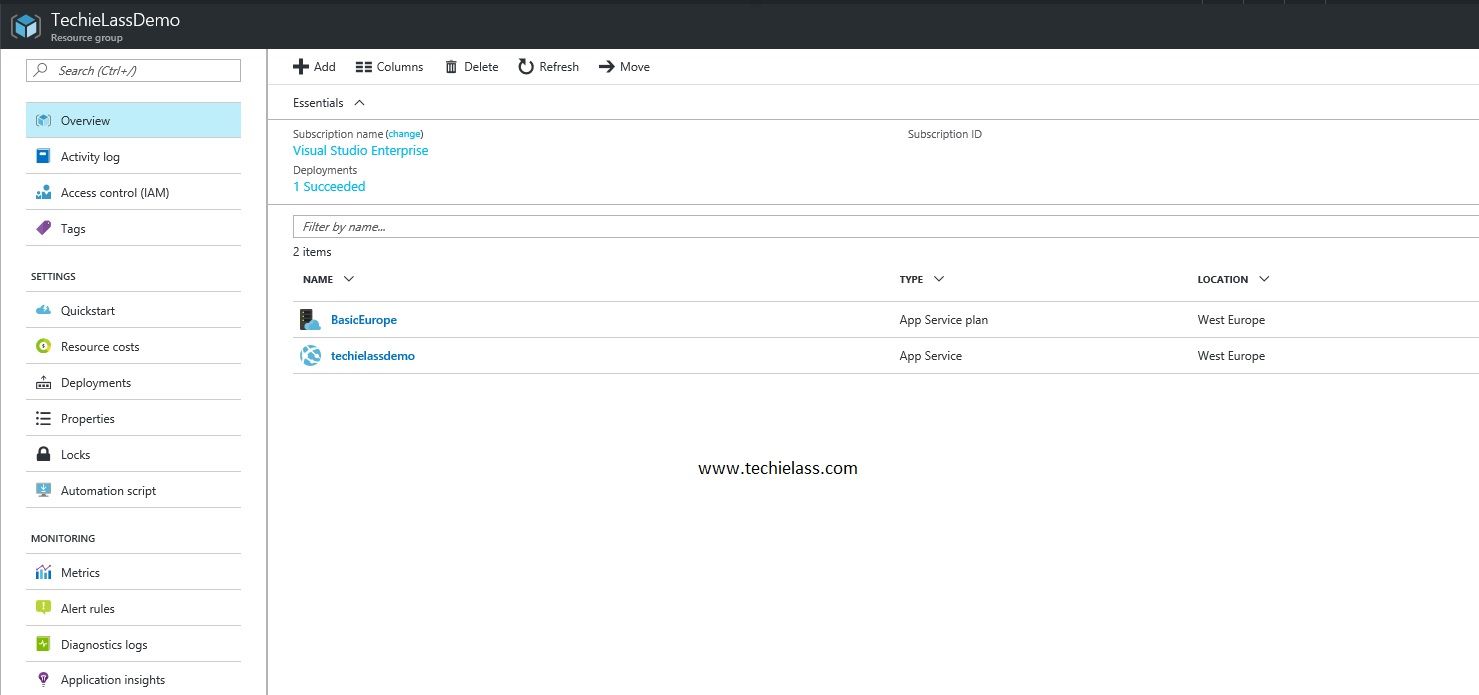 If you click on the name of your Web App, in my case "techielassdemo" you will be able to interact with the configuration of the site.
Create Login Credentials
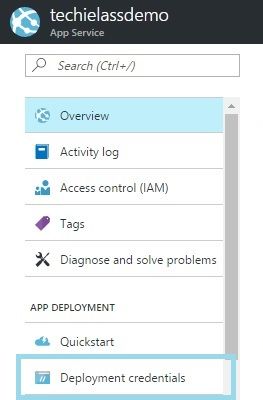
To be able to upload/change/delete content for your site you need to have a username/password combo set up to do this click on "Deployment Credentials" down the left hand side.
Enter an appropriate secure username and password combination and save this.
Upload Content
The next stage is to add some content to your website. To this open up File Explorer from your server and input the FTP hostname for your Web App into the destination bar and hit enter. You will then be prompted with for the username and password. Enter the details as you created them. File Explorer will now connect and you should see something similar to this:
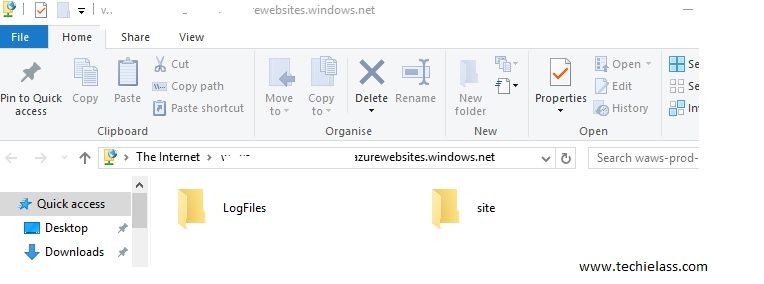
Browse to the Site folder, then wwwroot. Copy your website files into this location. Once you have uploaded your data you can check to see how it appears on the Internet. If you click on Browse, a new tab will load and show you your website.
Summary
I will be doing a blog post on how to set up a custom domain and attach an SSL certificate so be sure to come back and check that one out!