Deploy a Website in Azure - Part 2

This is the second part of my series on how to deploy a website within Azure. The first part of the series covered how to deploy a Web App, create deployment credentials and deploy some content to the website. Within this blog post I will be covering off how to use your own domain name for the website and apply an SSL certificate to the website.
Custom Domain
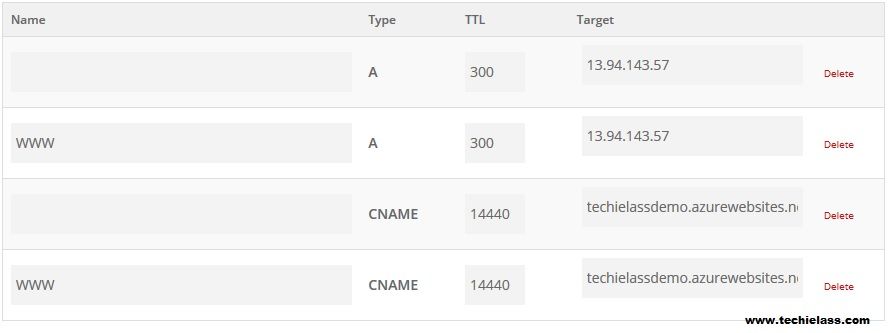
When you create a website within Azure it is assigned a general website URL, in my case it is "techielassdemo.azurewebsites.net", however I don't want my users to use that URL when they visit it. I've already bought the domain that I wish to use for this website, so the first step for me is update the DNS records for the site. There are several records you need to create, two A records and two CNAME records. The records are used to help redirect your users to the Azure Web App and authenticate you as the owner of that domain. In my case, I created an A record for WWW and one without any prefix and pointed them to IP addressed Azure assigned me. I then create a CNAME record for WWW that pointed to my Azure URL and one with no prefix that also pointed to my Azure URL, below is a screenshot of my DNS settings.
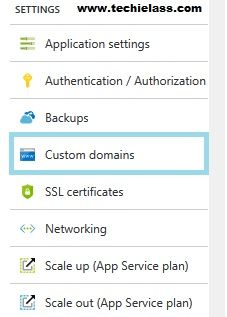
Once the DNS has been updated and populated I now need to associate my custom URL with my Azure Web App. To do this select Custom Domains from your control panel
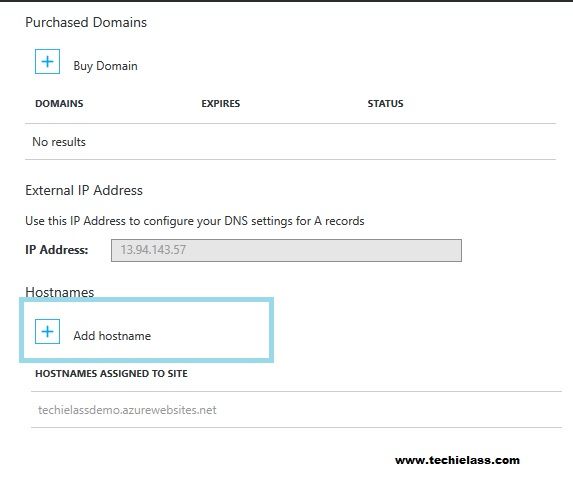
Then select Add Host Name
A new screen will load and as you to type in your URL and validate this.
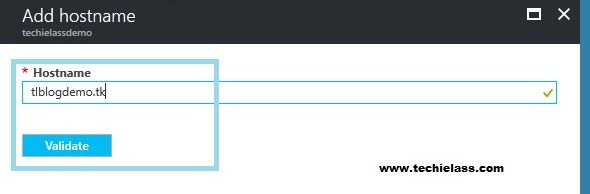
Azure will now attempt to check that you have entered the correct DNS records as I described above to confirm you are the owner of that domain. Once it has validated the CNAME records you will have the option to Add this hostname.
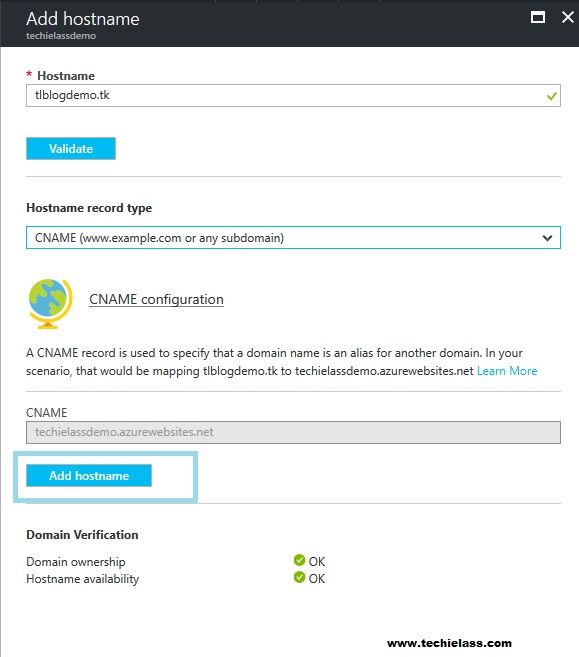
Please note you should add a hostname for your domain without the WWW at the start and also one with the WWW at the start so that users can view your site regardless. Once you've added the relevant hostnames you should now be able to browse your website using your own domain URL, below is a screenshot of what my website looks like now I am using my own domain

SSL Certificates
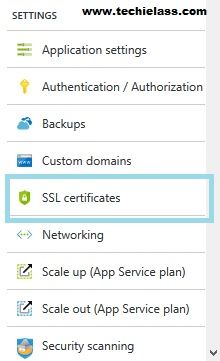
Now that your website is up and running you may want to add an SSL certificate. In order to do this you need to have a certificate that covers all your domains, in this case I have a certificate that will secure www.tlblogdemo.tk and tlblogdemo.tk Once you have your certificate to upload it into Azure click on the SSL certificates menu
The the SSL Certificates menu opens up select the Upload Certificate button

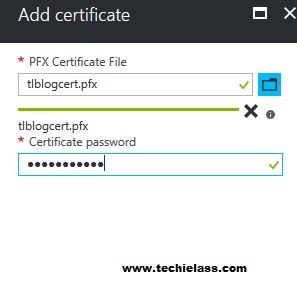
Point the wizard to your certificate and input the certificate password. It's worth nothing that Azure won't allow you to upload a certificate that doesn't have a password attached to it.
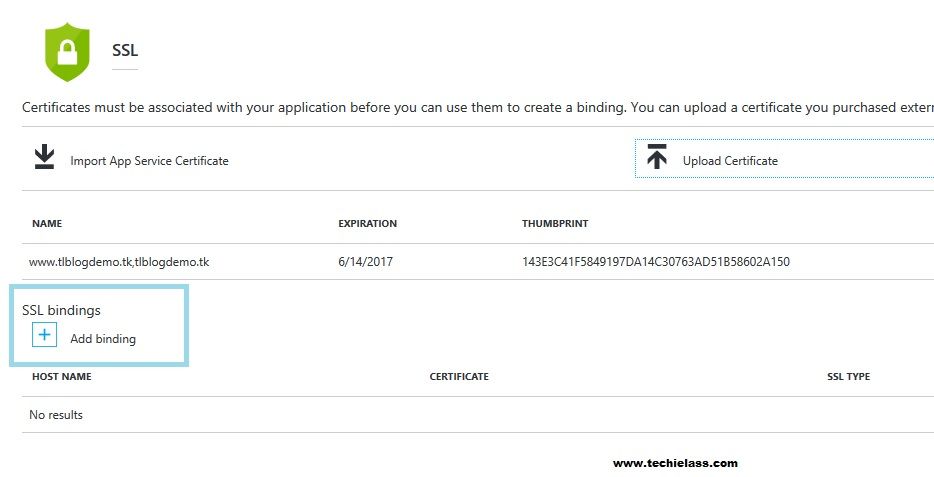
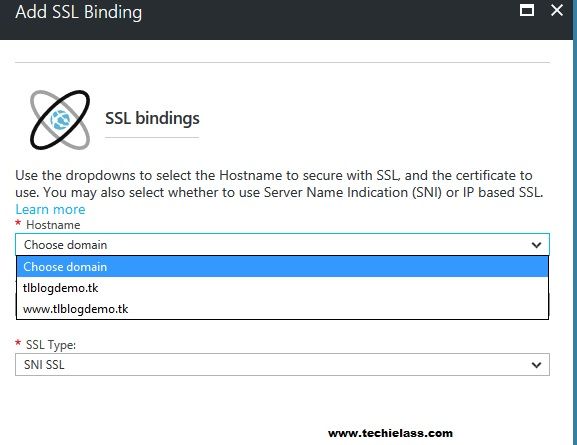
Now that your certificate is uploaded to the Azure platform you need to associate it to your website URLs so that it can be used. To do this you need to click on Add Binding
When the next screen opens up you will be asked to pick which domain URL you wish to use, the certificate and method. SNI bindings now allow you to assign a certificate to different sites that are all hosted on the same IP address. IP Based is the "old method" of assigning a certificate to a IP and port. In this case I've chosen SNI, ensure you choose the right one for your needs.
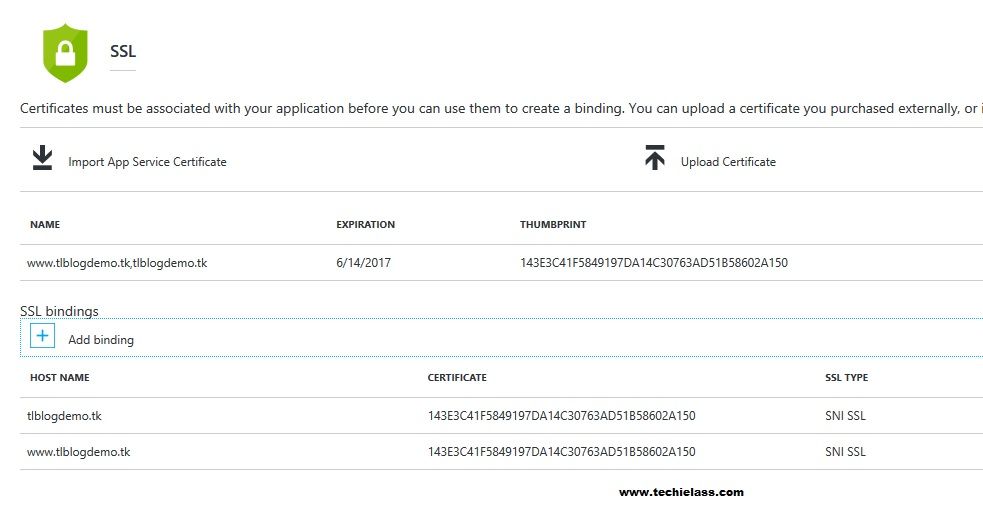
Ensure you add a binding for both your WWW and non prefixed address so that both use the certificate. Your console should end up looking similar to this
Now you've added the certificate and bindings when you browse the HTTPS version of your website you will notice that the certificate is being used

Redirect your Azure Web App from HTTP to HTTPS
Now that you've got your HTTPS website and certificate set up, how do you ensure that your end users are always using that site and not the non-secure HTTP version? Within Azure there is a feature called Extensions which allow you to easily add some functionality to your Web Apps. Thankfully one of them is exactly what we need, it redirects all HTTP requests to HTTPS without any complex code. Under Development Tools in your control panel select Extensions

When the page loads click on Add

You will now be presented with a list of Extensions that are available to you, scroll down the list and select the "Redirect HTTP to HTTPS" extension written by Greg J Hogan.
 O
O
nce you've read the terms and conditions and enabled the extension any request to your HTTP URLs will be redirected to HTTPS automatically. It's worth ensuring your website works on HTTPS before you enable this extension though!
Summary
So there you have it. Hopefully this two part tutorial gives you a general overview of how to create and configure a basic website using Azure Web Apps.