Git Stashing - 14 days of Git
Learn more about the Git stash command, how to use it and why it should be used.
I'm continuing on my 14 days of Git learning journey, you can see a history of what I've learnt so far here. But today is all about the stash command and what it can be used for.
What is a git stash?
The git stash command temporarily stashes (shelves) any changes you've made to your working branch so you can work on something. When you are ready you can come back to the stashed changes and re-apply them later.
It's worth nothing that any stash is done only to your local Git repository copy, stashes are not transferred to the remote location.
Where is git stash saved?
When you issue the git stash command, they are stored inside a file called stash inside the .git/refs folder.
You can find all your stashes by using the command git stash list.
If you drop or clear any stashes it will remove it from the stash list, but you might still have some unpruned data within your local Git repository. So that is something to be mindful of.
How do I use git stash?
The sequence of events for using git stash are as follows:
- Save changes to branch 1
- Run git stash
- Check out branch 2
- Work on the bug or feature in branch 2
- Commit and push branch 2 changes to remote
- Check out branch 1
- Run git stash pop to get your stashed changes back
How to create a stash
Now we've looked at what stash does, where it stores information and the sequence of events when we are using. Let's take a look at how to use the commands in detail.
If we have unsaved, uncommitted changes within a branch we are working on we can just type git stash.
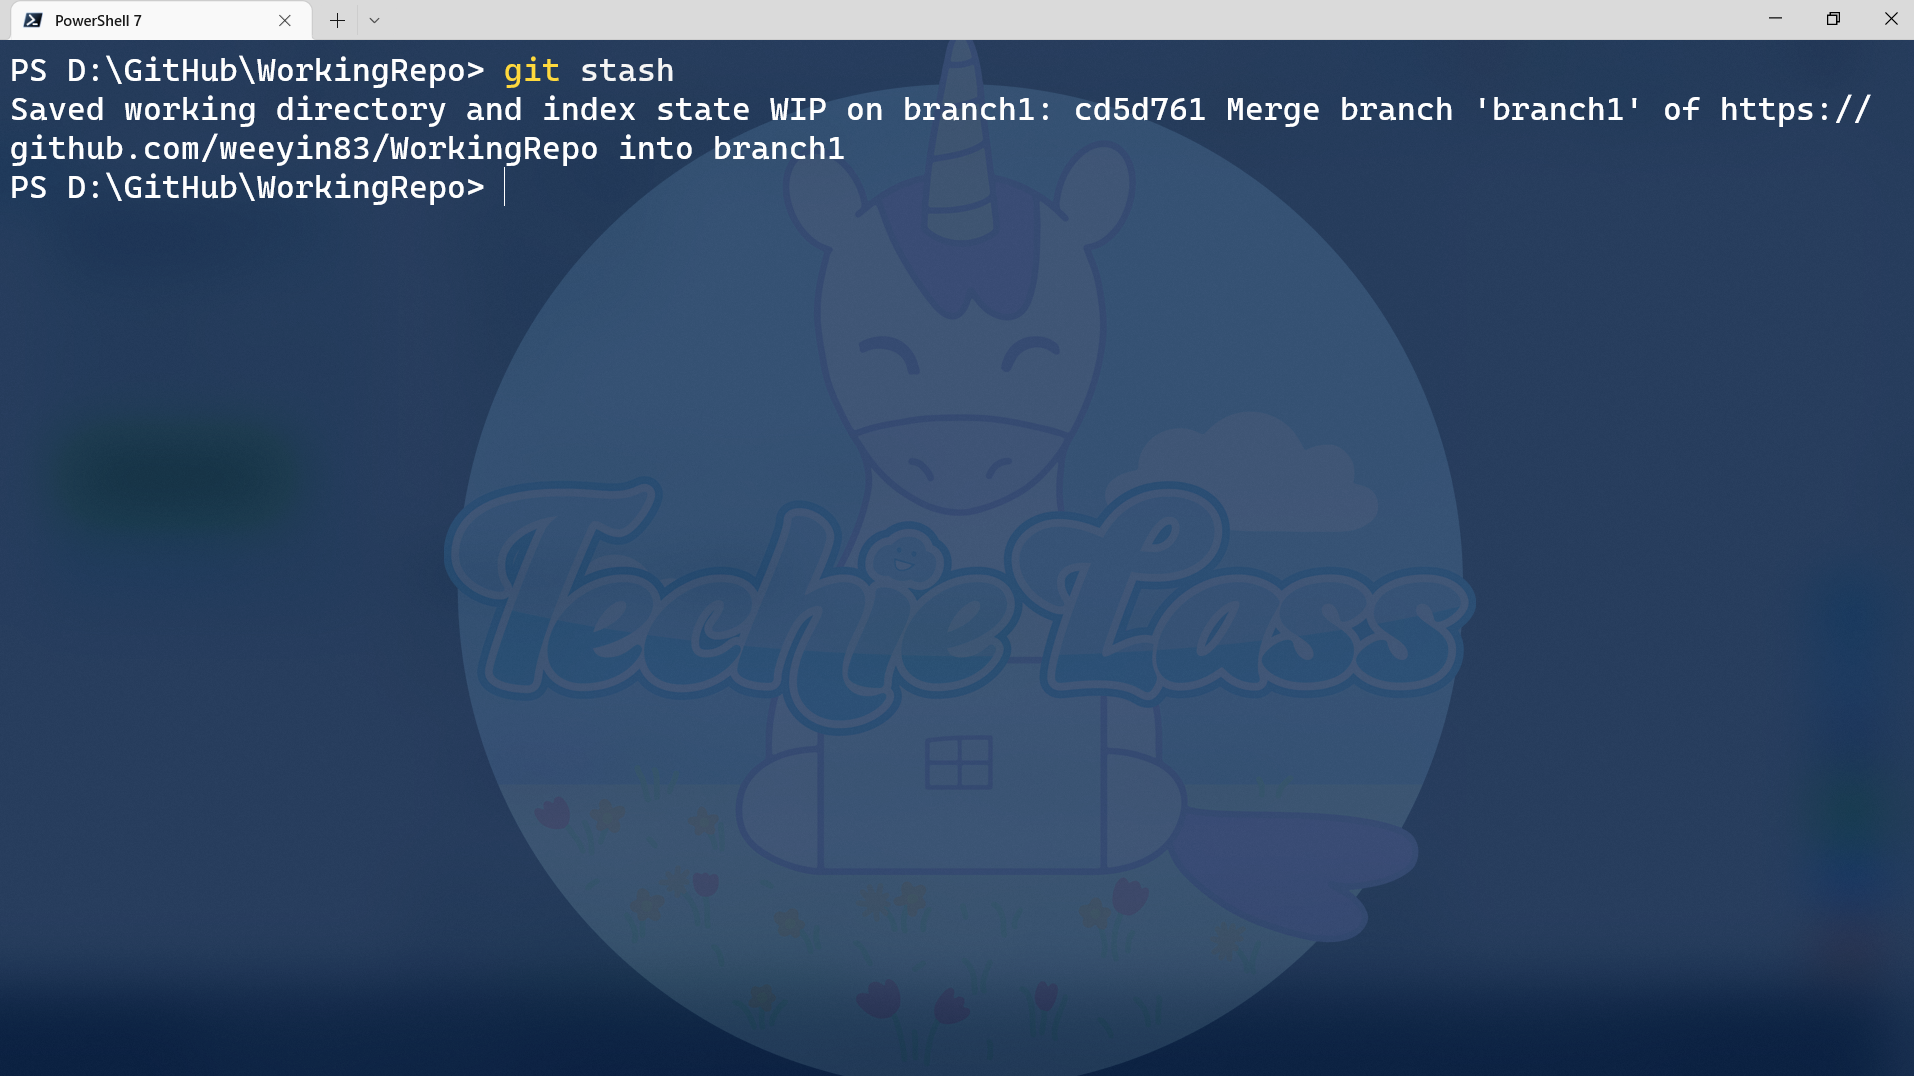
This command will store or stash the uncommitted changes, either staged or unstaged files, and will overlook untracked or ignored files.
If you wanted to stash untracked files, then you could use the command:
git stash -u or git stash --include-untracked
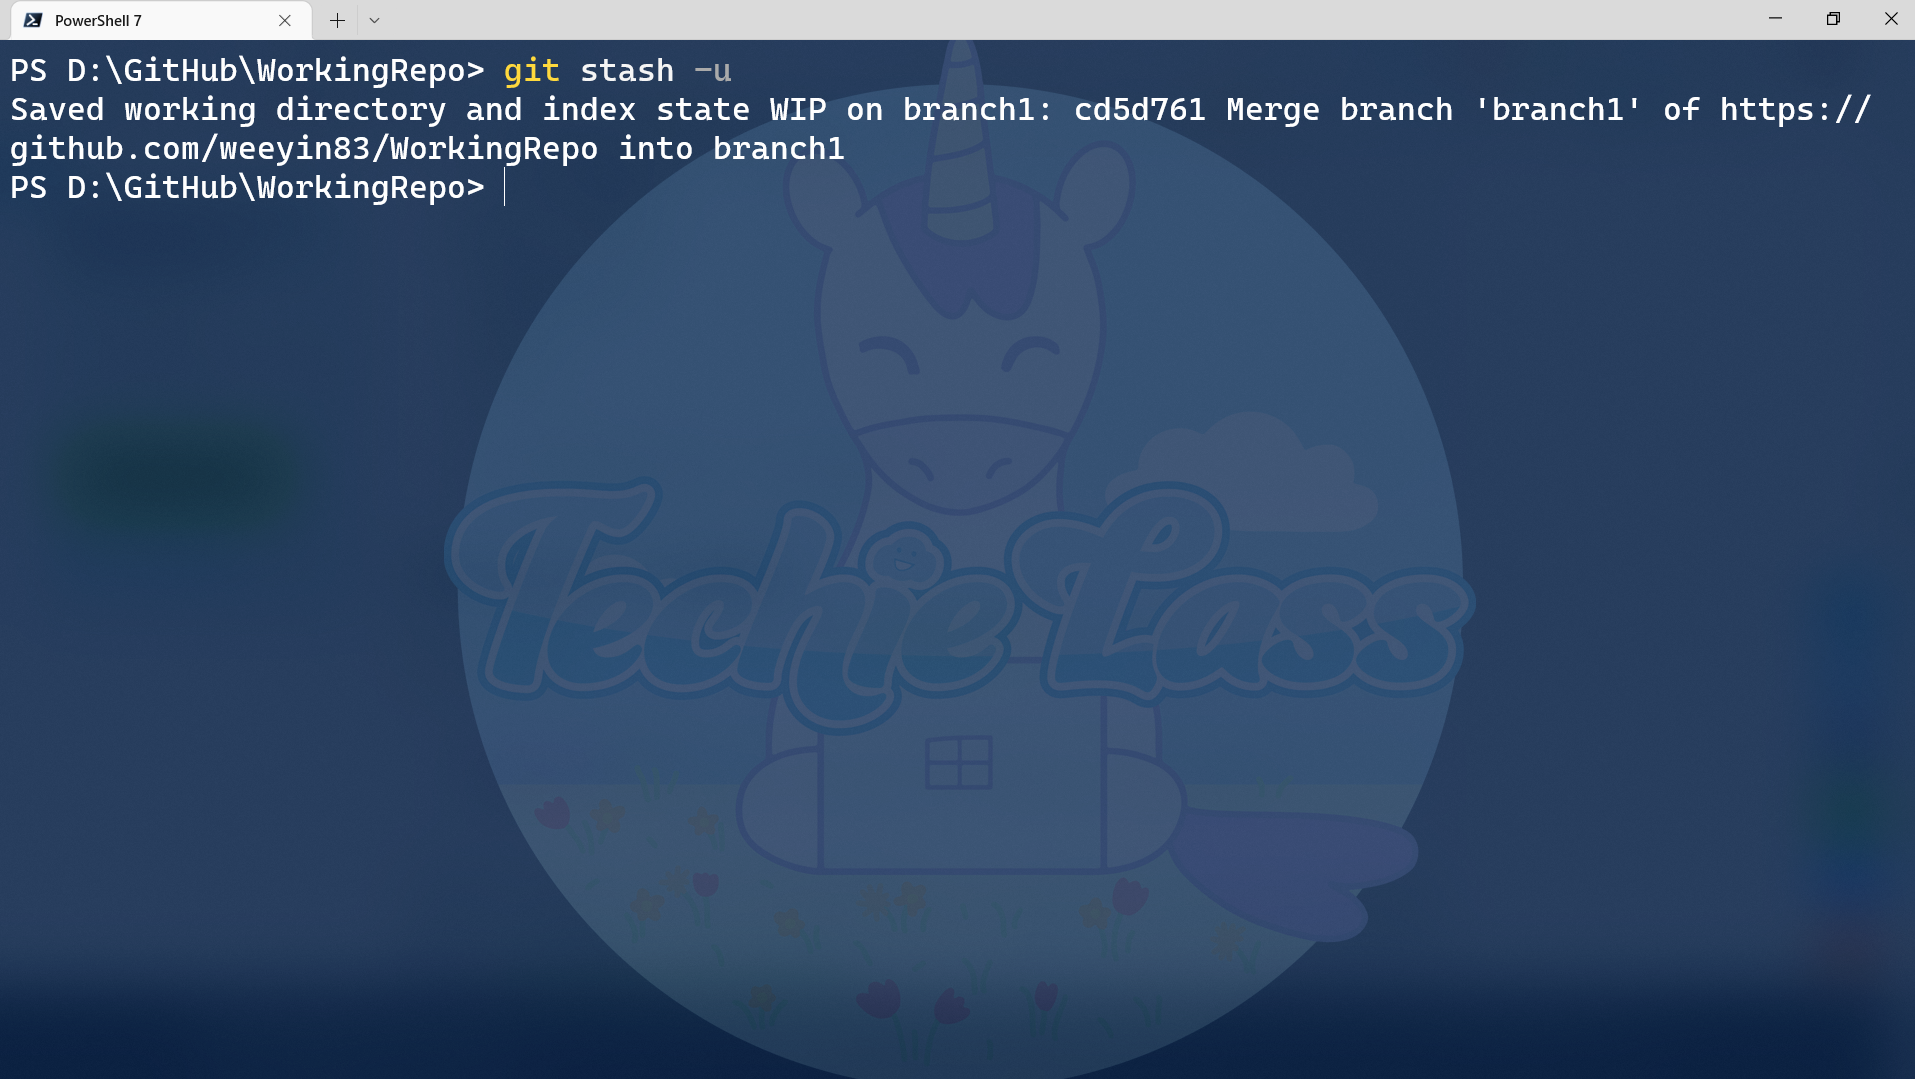
Alternatively, if you want to stash untracked files and ignored files you can use the command:
git stash -a or git stash --all
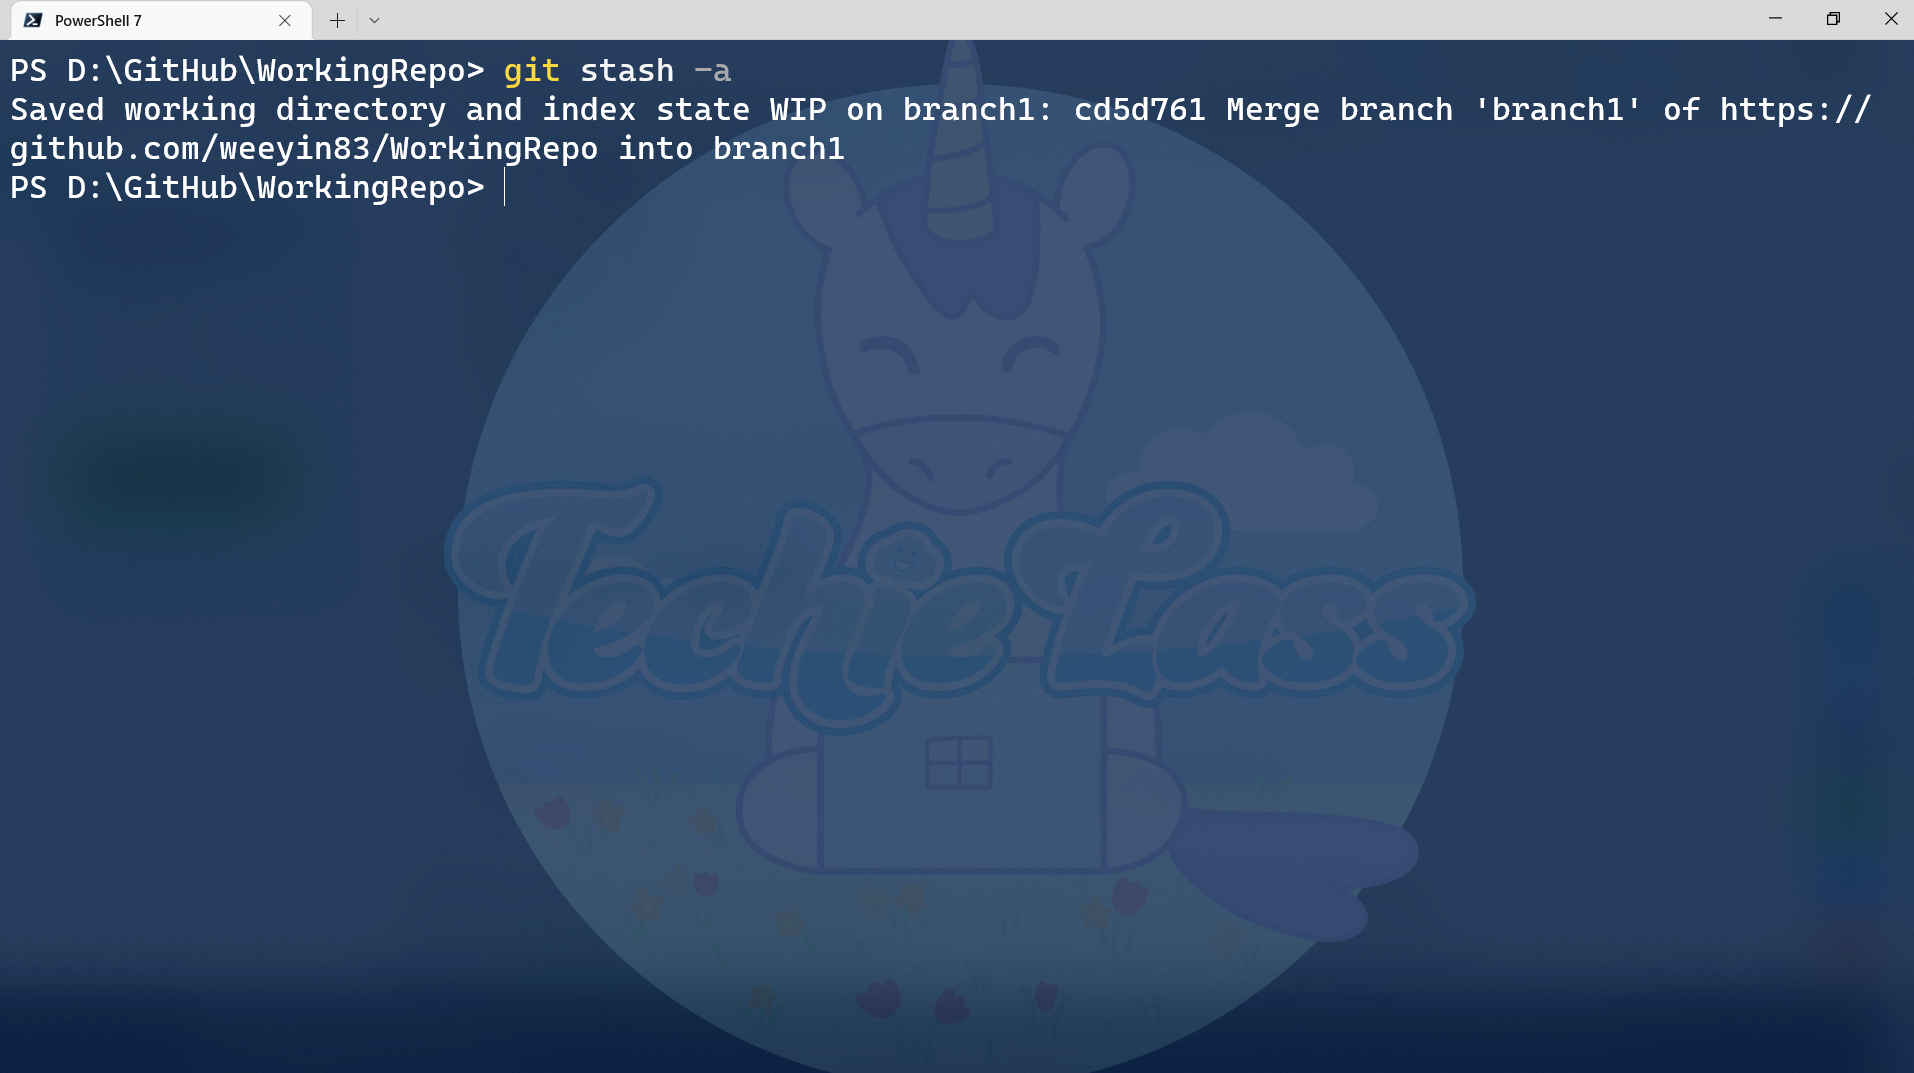
If there are specific files you want to stash then you can use the command:
git stash -p or git stash --patch
List git stashes
You can use the command git stash list
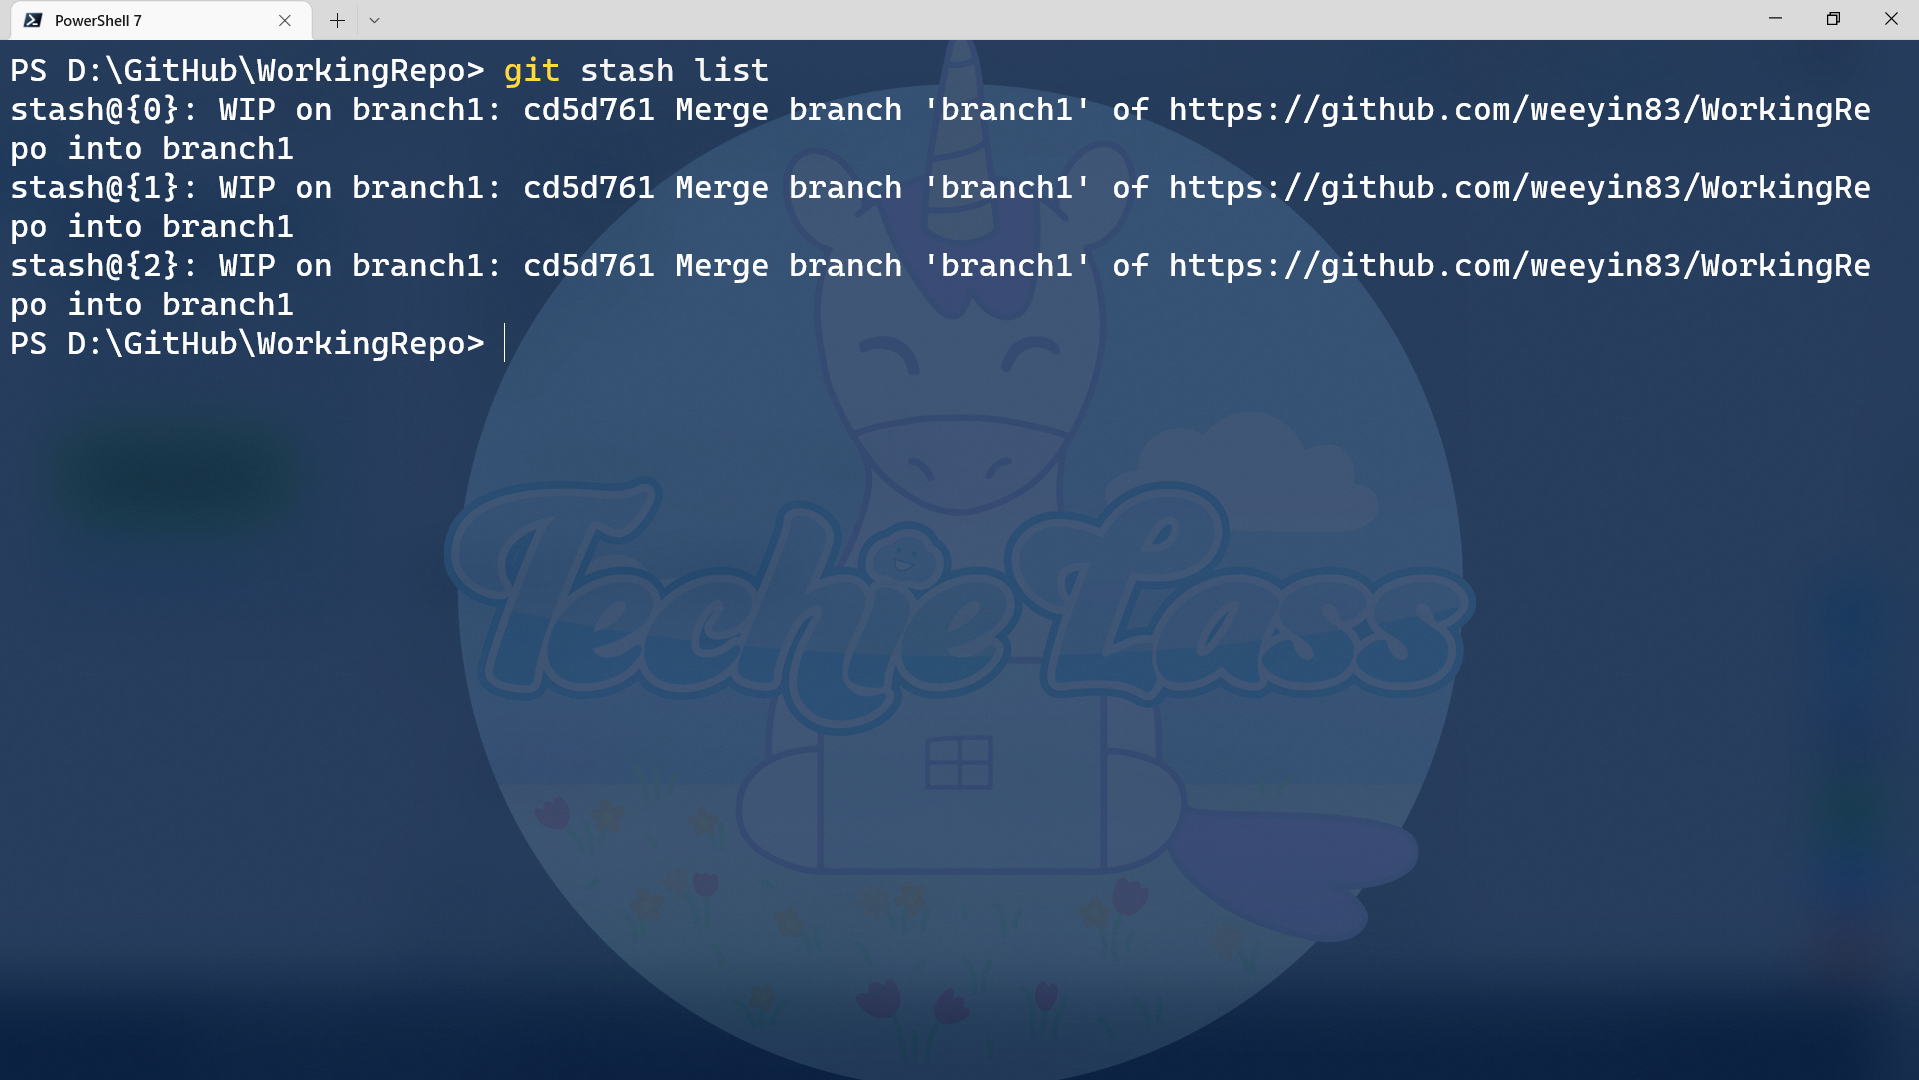
Managing multiple stashes
From the above list we can see we don't have much context as to what each of those stashes are. It's recommended best practice when using stash to write a save message. Your command would look like this:
git stash save "added new getting started guide"
When you list out your stashes you'll now have more information refer to.
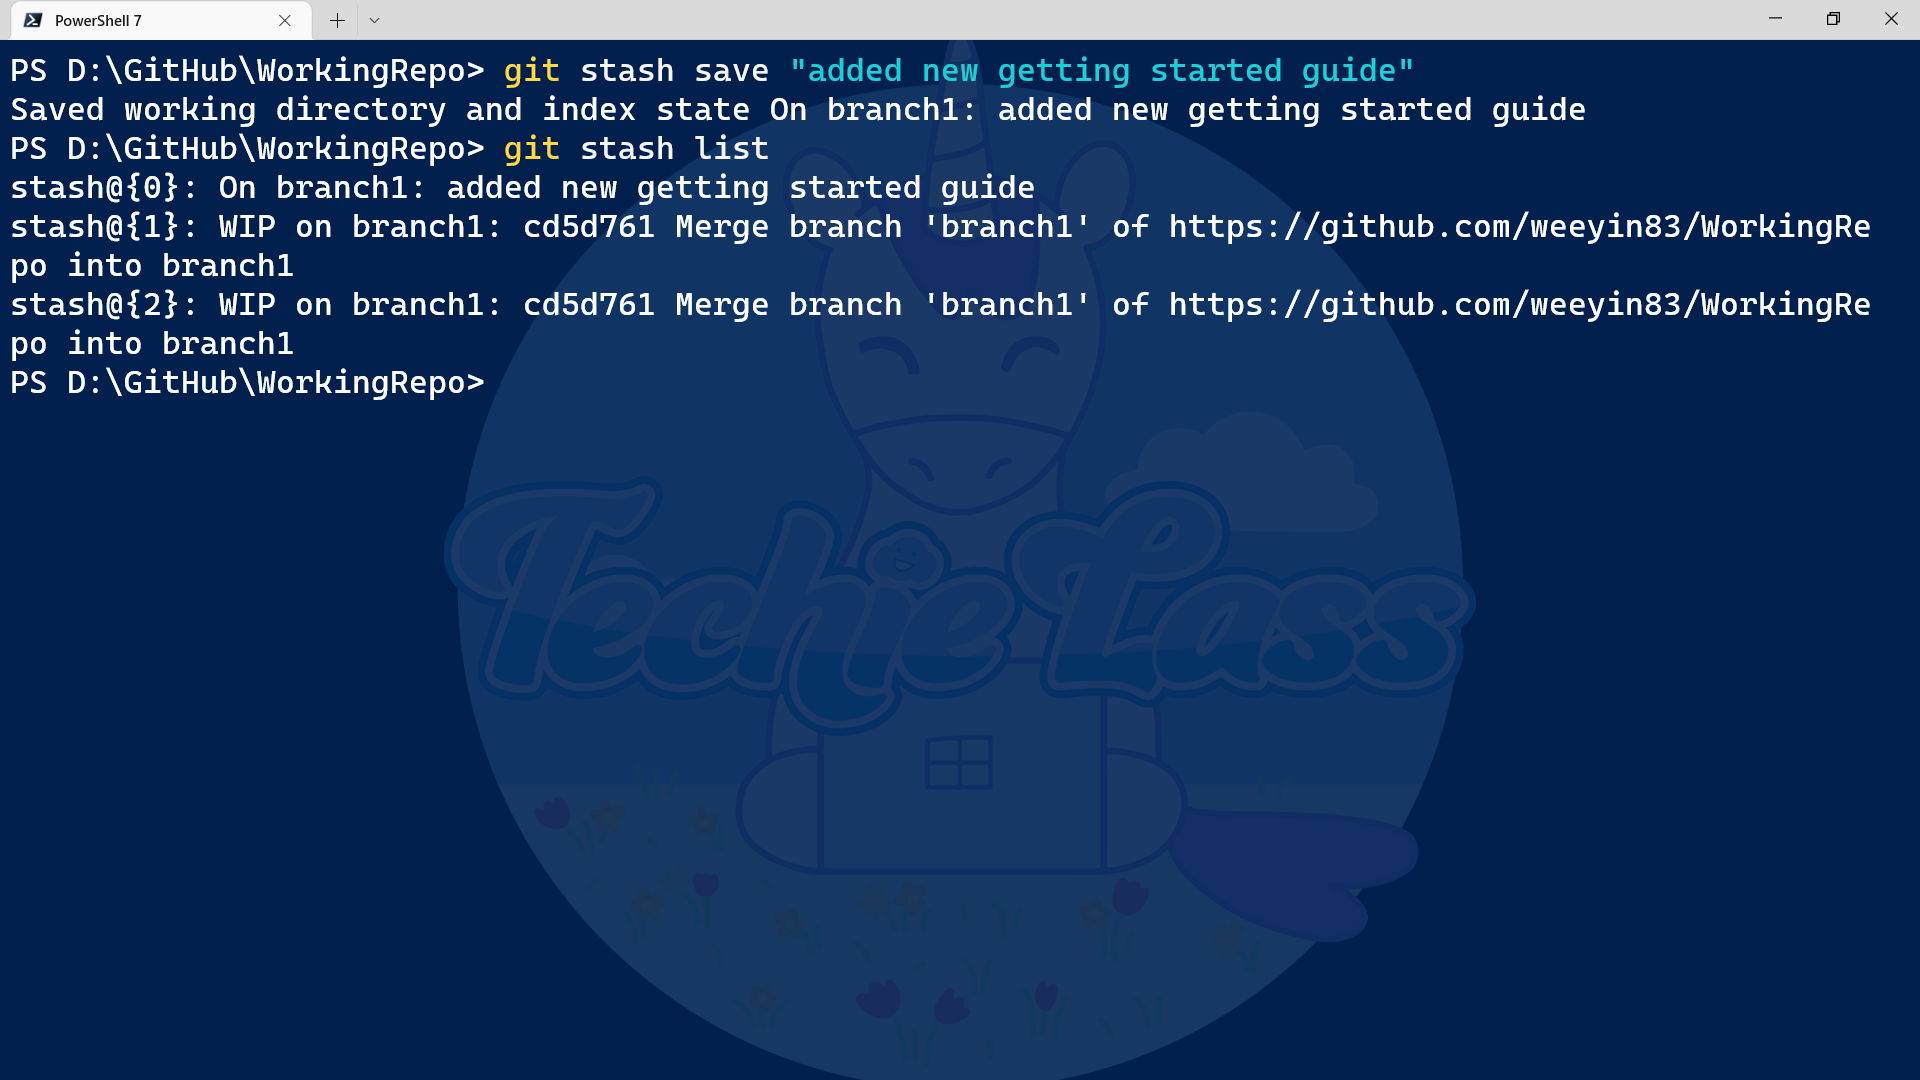
Retrieve git stash changes
Now you have something stashed away, how do you retrieve it? There are two commands that you could use, git stash apply or git stash pop.
Both of the commands reapply the changes that were stashed. There is a slight difference between what they do.
- Git stash apply reapplies the changes
- Git stash pop removes the changes from stash and reapplies them to the working copy
Git stash apply allows you to reapply the stashed changes more than once. You can only use the Git stash pop command once.
Clear stash
You can clear out a specific stash by using the command:
git stash drop stash@{1}
Or if you want to get rid of all stashes then you can use the command:
git stash clear
14 days of Git
Today was really interesting, I love the fact that there is the stash feature. I would love to hear from people if they are using this feature in the wild and how it works and if it's got the potential to cause some disasters in your environment?
Be sure to subscribe and join me for that step in the learning journey!
You can follow along here: https://github.com/weeyin83/14daysofgit
