How to push from GitHub Desktop to GitHub
Learn how to push your code up to GitHub using GitHub Desktop

Welcome to our beginner's guide on uploading your project to GitHub using GitHub Desktop! GitHub is a powerful platform for version control and collaboration, and GitHub Desktop provides a user-friendly interface for managing your repositories directly from your desktop.
In this blog post, we'll walk you through the step-by-step process of uploading your project from your local machine to GitHub using GitHub Desktop. Let's get started!
Installing GitHub Desktop
The first step is to install GitHub Desktop on your computer. You can download it for free from the GitHub Desktop website for Windows or macOS. Once downloaded, follow the installation instructions to set it up on your machine.
You can view a step by step video tutorial here:
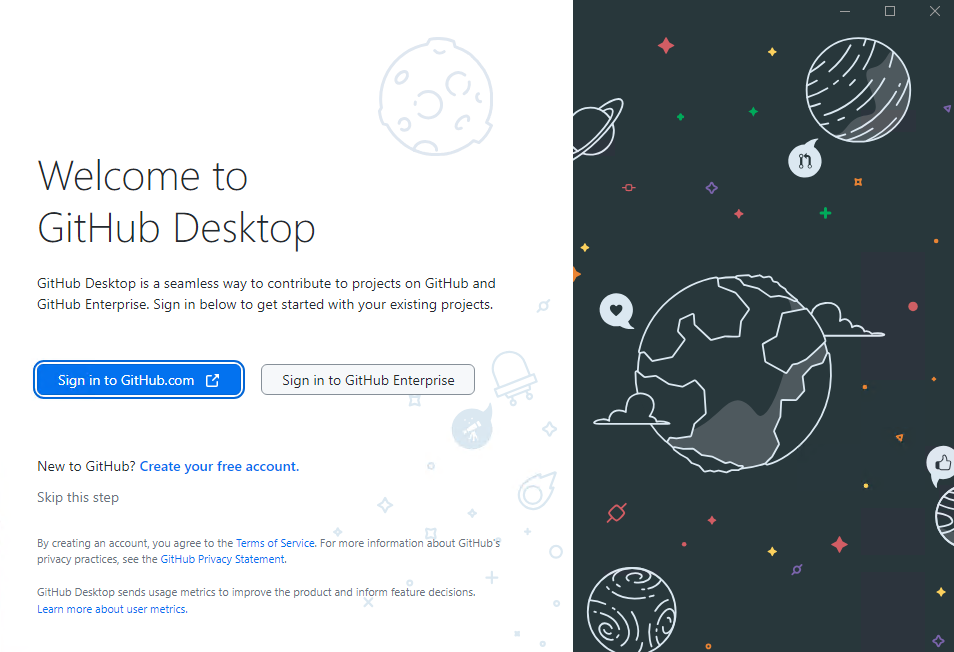
Signing in to GitHub Desktop
After installing GitHub Desktop, launch the application and sign in with your GitHub account. If you don't have a GitHub account yet, you can easily create one for free on GitHub's website.
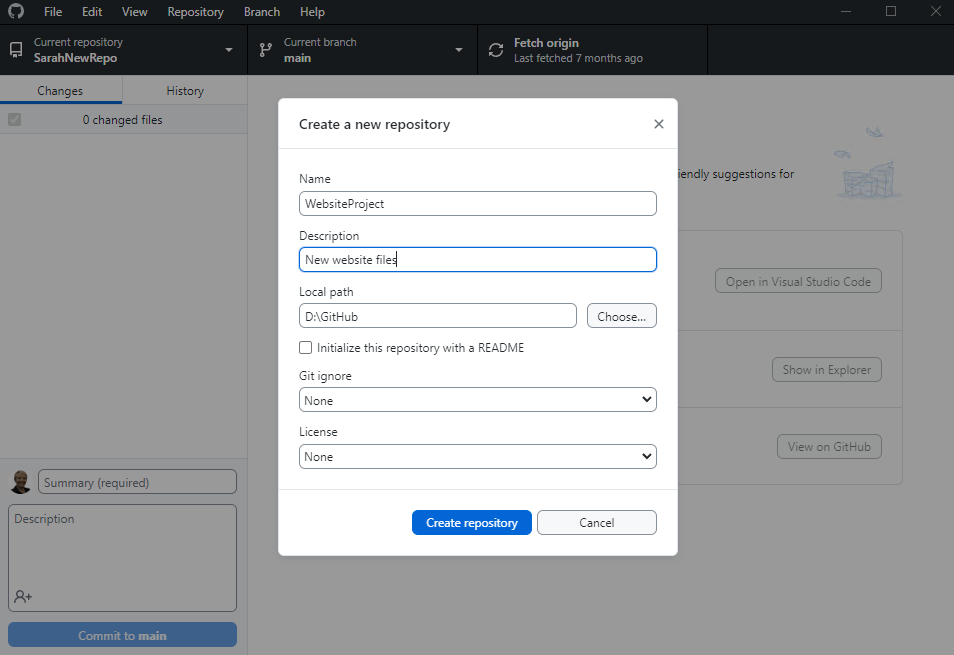
Creating a New Repository
Next, you'll need to create a new repository in GitHub Desktop. Click on the "File" menu and select "New Repository" from the dropdown. Choose a name for your repository, add a description if you'd like, and select the location on your local machine where your project is stored. Then, click "Create Repository."
Step 4: Adding Your Project Files
With your repository created, it's time to add your project files to it. If you already have some files created on your machine, click on the “Show in Explorer” icon and it will launch the Windows Explorer. You can now start to move/copy files into the new location.
Alternatively if you don’t have any files created you can open up your favourite editor and start to create them saving them into the new folder location you have created.
Step 5: Committing Your Changes
Before you can upload your project to GitHub, you need to commit your changes. Review the changes you've made to your project files, enter a brief description of your changes in the summary field, and click "Commit to main."

Step 6: Publishing Your Repository
Once you've committed your changes, it's time to publish your repository to GitHub. Click on the "Publish repository" button, review the settings, and click "Publish repository" again to confirm.

And there you have it! You've successfully uploaded your project to GitHub using GitHub Desktop. Now, you can share your code with others, collaborate with fellow developers, and contribute to open-source projects.
We hope this guide has been helpful to you in getting started with GitHub Desktop. Be sure to explore more features of GitHub Desktop to enhance your coding experience. Happy coding!