Install Windows Sandbox
Install Windows Sandbox in Windows 10.

Back with Windows 10 (1903) the team introduced a new feature called Windows Sandbox. Windows Sandbox is a Hyper-V piece of technology that allows you to spin up an isolated, temporary desktop environment you can run tests on, demos on or use if you are unsure about a bit of software.
You can spin up a Windows Sandbox environment and when you close that Sandbox all the software with all it's files and state are permanently deleted.
Prerequisites
There are some prerequisites you need to meet before you can start to use Windows Sandbox:
- Windows 10 Pro, Enterprise or Education build 18305 or later (Windows Sandbox is currently not supported on Home SKUs)
- AMD64 architecture
- Virtualization capabilities enabled in BIOS
- At least 4 GB of RAM (8 GB recommended)
- At least 1 GB of free disk space (SSD recommended)
- At least two CPU cores (four cores with hyperthreading recommended)
Installation
There are two ways to install the Windows Sandbox (once you've met the above prerequisites).
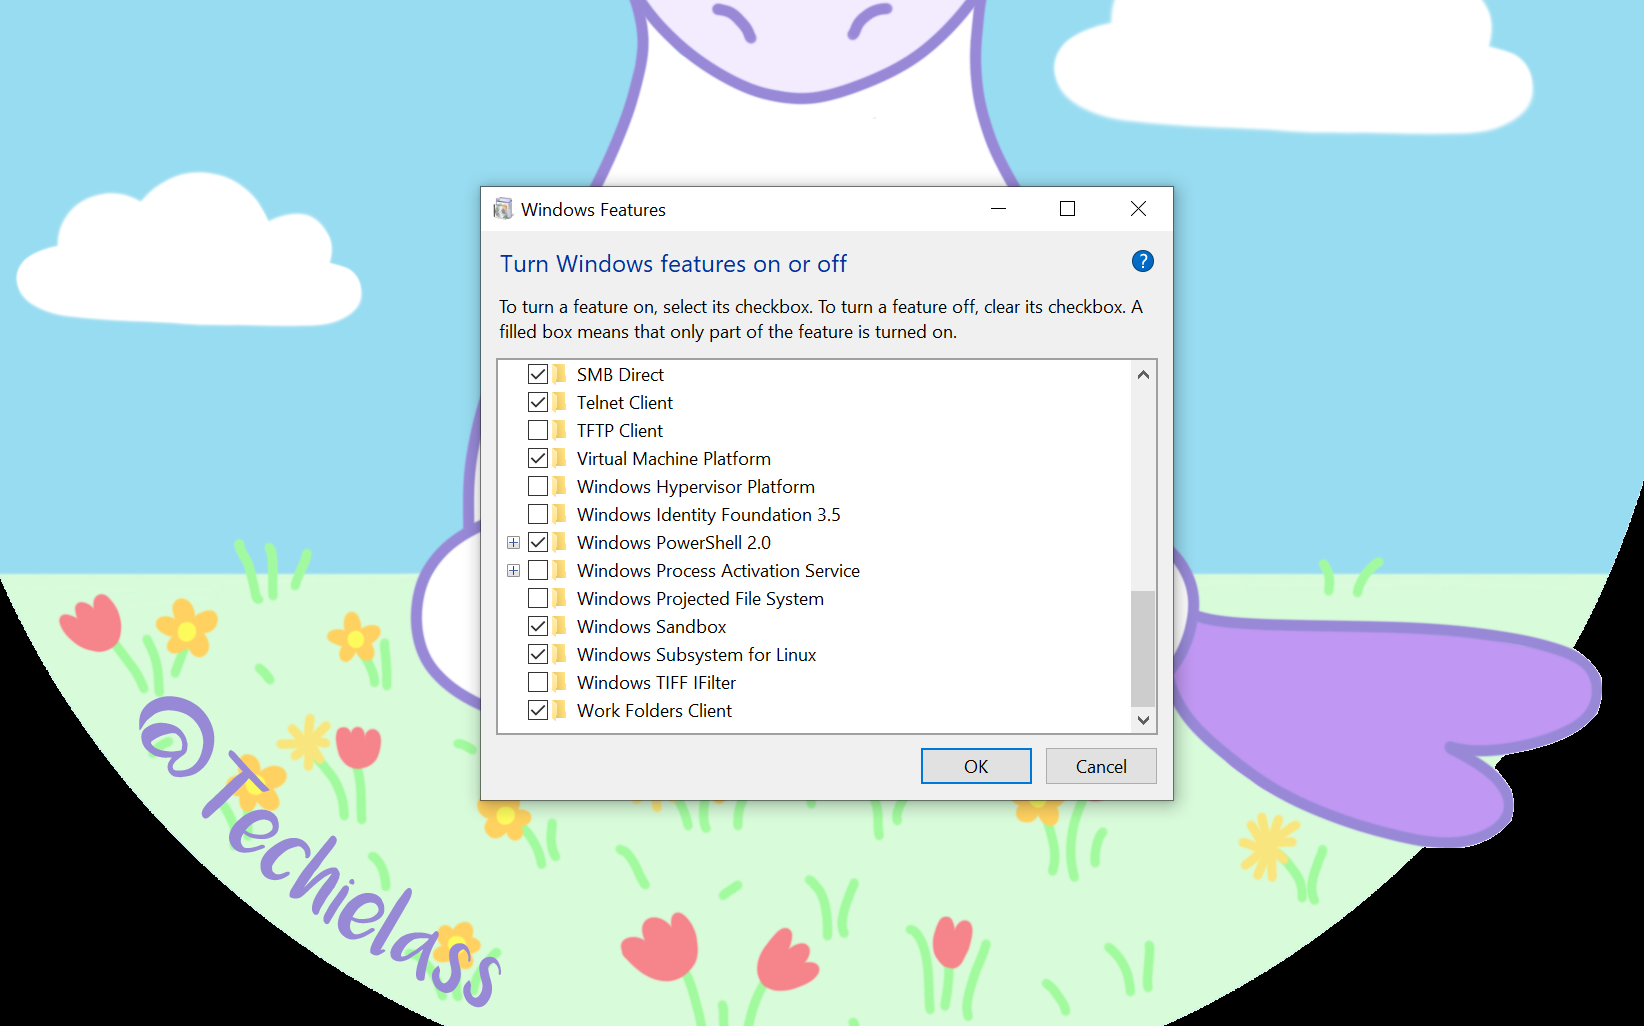
You can click on your Windows key and search for Turn Windows Features on or Off and select Windows Sandbox from that list.

The second option is to use the PowerShell command:
Enable-WindowsOptionalFeature -FeatureName "Containers-DisposableClientVM" -Online
Your machine might need a reboot to finish off the installation.
Start using the Sandbox
Now that Windows Sandbox is installed you can launch it from your Windows menu just by searching for Sandbox.
By default it will spin up a default image, however there are probably times you would like to be able to spin up a customised environment with some tools already preinstalled or with access to some local files on your physical machine.
There are a lot of settings you can control with a configuration file.
| Setting | Why |
|---|---|
| vGPU (virtualized GPU) | Enable or disable the virtualized GPU. |
| Networking | Enable or disable network access within the sandbox. |
| Mapped folders | Share folders from the host with read or write permissions. Note that exposing host directories may allow malicious software to affect the system or steal data. |
| Logon command | A command that's executed when Windows Sandbox starts. |
| Audio input | Shares the host's microphone input into the sandbox. |
| Video input | Shares the host's webcam input into the sandbox. |
| Protected client | Places increased security settings on the RDP session to the sandbox. |
| Printer redirection | Shares printers from the host into the sandbox. |
| Clipboard redirection | Shares the host clipboard with the sandbox so that text and files can be pasted back and forth. |
| Memory in MB | The amount of memory, in megabytes, to assign to the sandbox. |
The Configuration Files are .wsb files, that are fairly straightforward to configure, you could get complex with them depending on your needs.
There are several examples on the Official Documentation that you can use to refer to and copy.
Also check out my video where I talk more about Windows Sandbox: