Set up a Hyper-V Virtual Switch using a NAT Network
In this post, learn how to create a Hyper-V virtual switch that uses network address translation (NAT), allowing VMs to be isolated behind a single shared IP address on the host.

In this post, I will show how you can create a Windows Server 2022 Hyper-V virtual switch that uses network address translation (NAT), enabling virtual machines to be isolated behind a single shared IP address on the host.
What is Network Address Translation?
Network Address Translation (NAT) is a technique used in computer networking to manage the distribution of IP addresses within a private network.
It allows multiple devices in a local network to share a single public IP address for communication with external networks, like the Internet.
NAT acts as a mediator, translating private IP addresses of devices within the local network into a single public IP address when data is sent out to the internet and then translating incoming data back to the appropriate private IP address.
Prerequisites
- Windows Server 2022
- Hyper-V role enabled
- PowerShell
Deploying a NAT Virtual Switch
The first thing to do is to create a virtual machine switch using the following PowerShell command:
New-VMSwitch –SwitchName “NATSwitch” –SwitchType Internal
The next step is to configure the virtual network adaptor:
New-NetIPAddress –IPAddress 192.168.0.1 -PrefixLength 24 -InterfaceAlias "vEthernet (NATSwitch)"
The last step within your command shell is to configure the NAT rule:
New-NetNat –Name MyNATnetwork –InternalIPInterfaceAddressPrefix 192.168.0.0/24
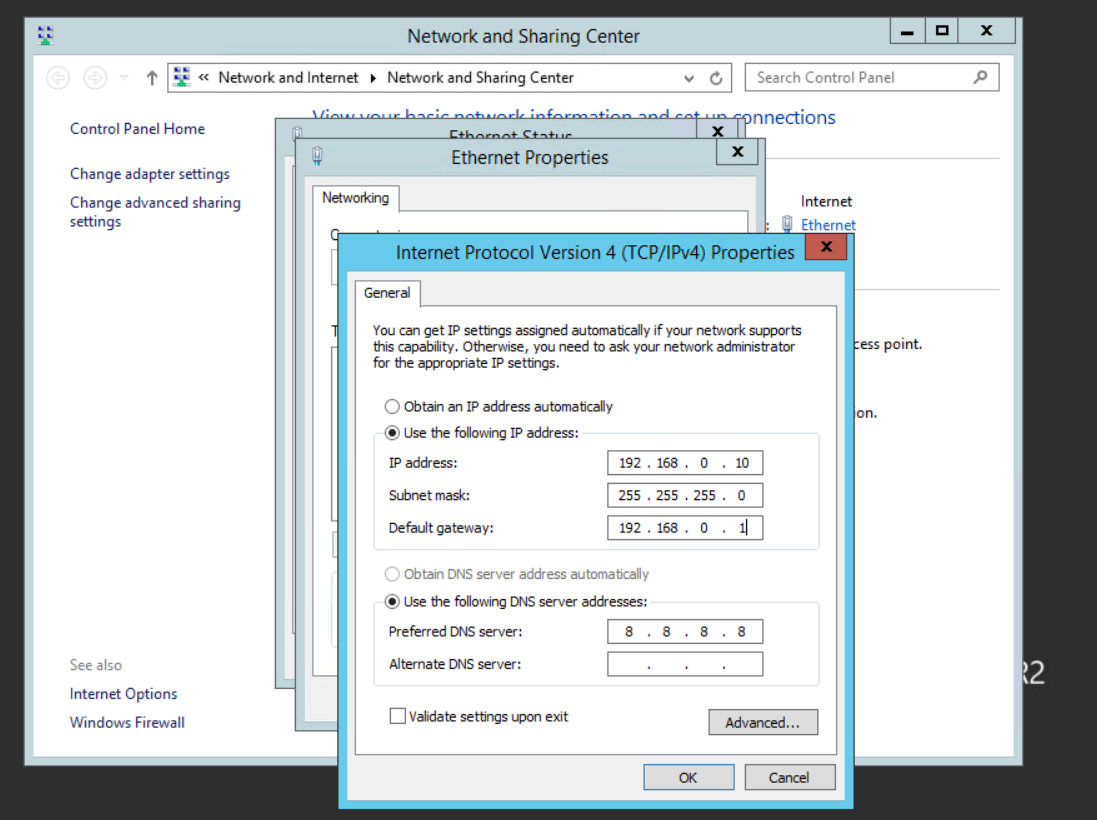
With the configuration complete you can now start to assign IP addresses to the virtual machines within your Hyper-V host.

Conclusion
In conclusion, creating a Windows Server 2022 Hyper-V virtual switch with Network Address Translation (NAT) offers a powerful solution for enhancing network efficiency and security.
By following the outlined steps, you can establish a NAT-enabled virtual switch, ensuring efficient and secure communication for your virtual machines while conserving valuable public IP addresses.
